If you're a brewer, home or otherwise, you may have heard about the excellent project RaspberryPints,
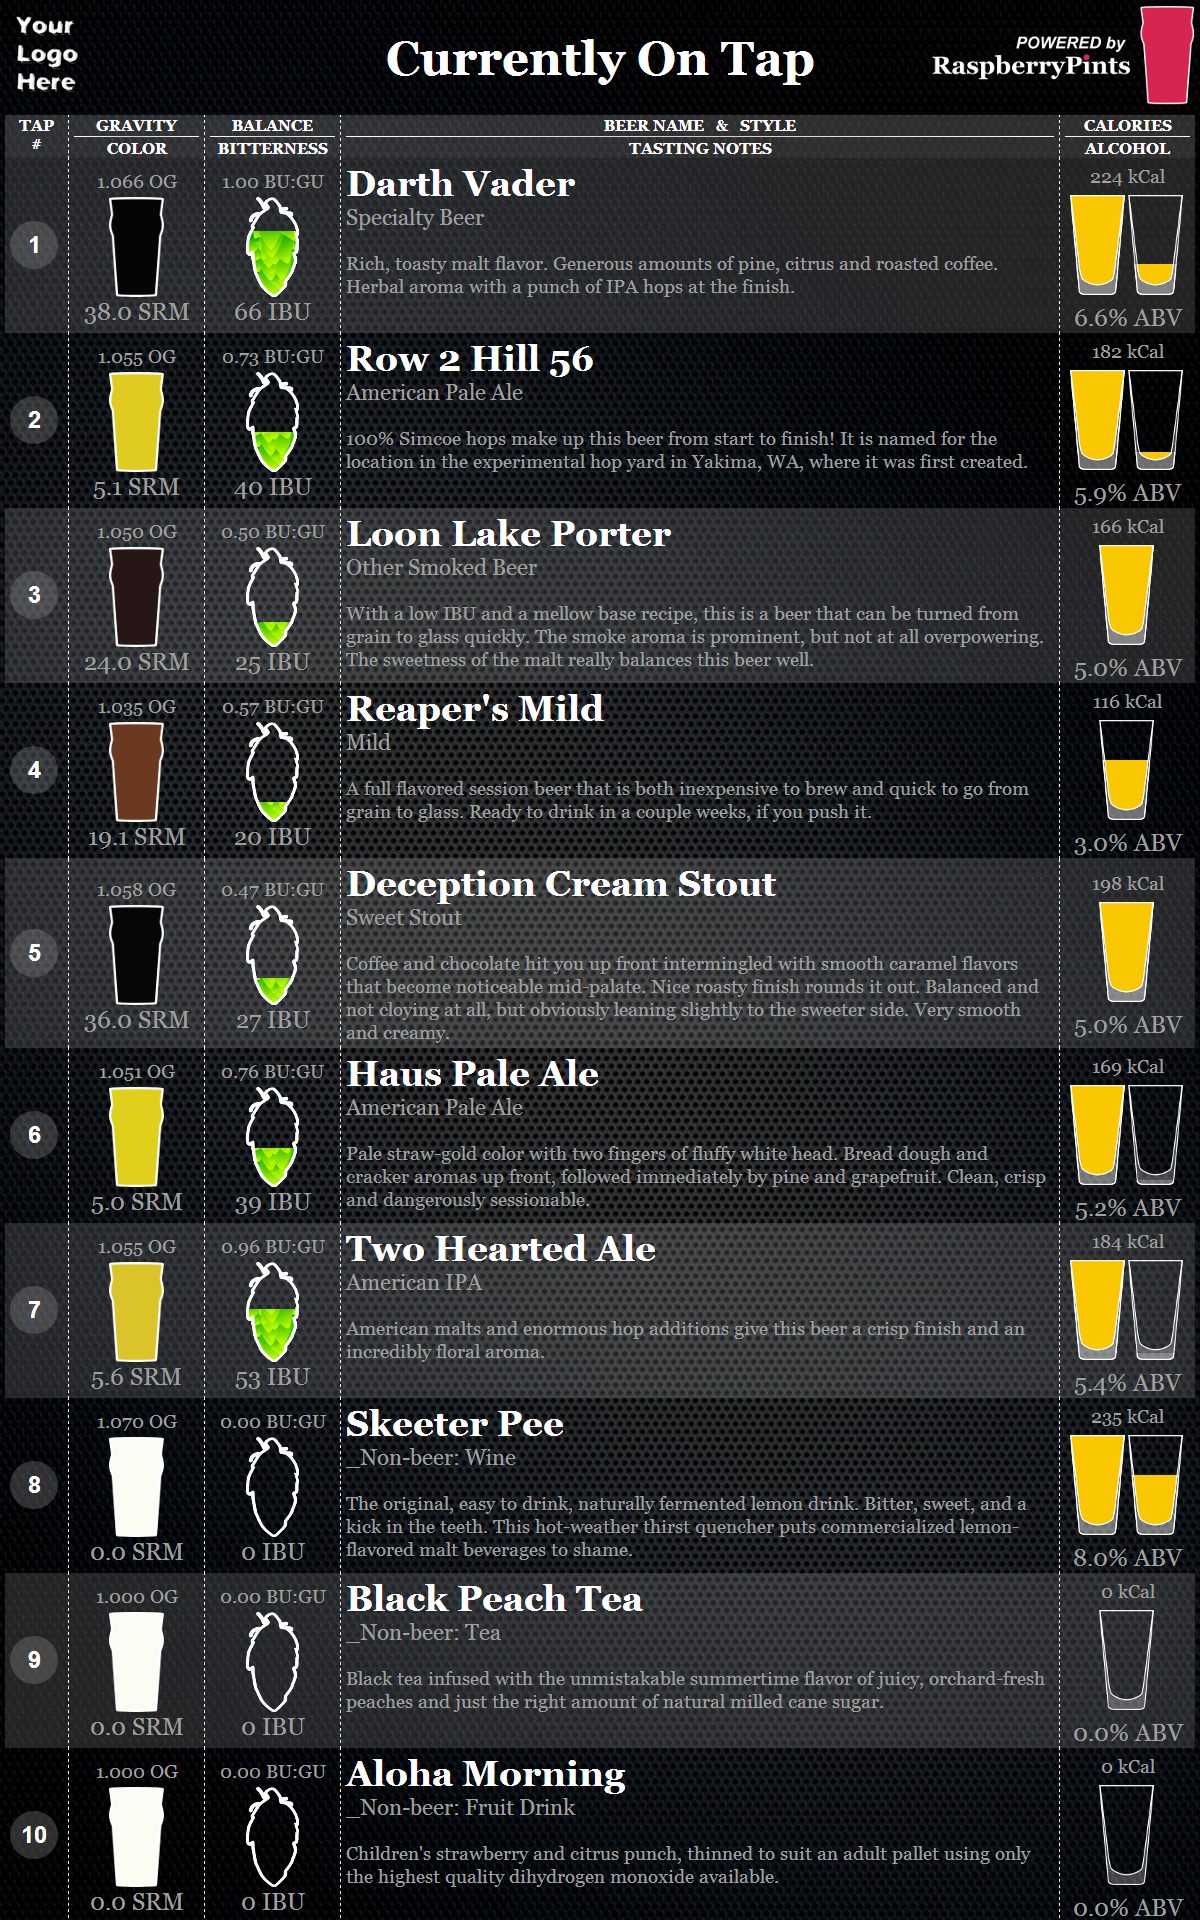
a software package for the RaspberryPi that allows you to display your tap list on a large-screen TV for your friends and/or customers to
view quickly and at a glance, adding a touch of class and elegance to your beloved brewery:
source: raspberrypints.com
I was inspired to write this howto when a fellow homebrewer inquired about running the software without RaspberryPi, using his tablet
instead of a TV screen. At first we were spitballing solutions like setting up an X11 tunnel over SSH to an emulated Pi using
QEMU, but I decided to take a look at the
source code to see if there was an easier way. Turns out it's just
PHP over MySQL, which means it should run on a desktop computer
just as easily and display in a mobile browser with few issues.
(It also means with a little bit of tweaking, I could plug in some jQuery extensions to enhance the site with touch screen
capabilities. Draw a pint, tap the screen, update my inventory. Coooool. But first things first, let's finish this howto.)
By the end of this howto, you should be up and running with RaspberryPints without the overhead of purchasing additional hardware.
You will need:
A computer with an internet connection - this will be your server
A wifi network
A dedicated tablet - Android, iPad, Kindle, Windows 8, whatever
Enough technical knowhow to install and configure a web server on a desktop computer
WARNING: This step is a mess and has tripped quite a few people up. I recommend that you use XAMPP in lieu of this step.
It gets you Apache, PHP, Perl, and MySQL with a single installer. I will update the tutorial in earnest when I get the chance, but for now you will have much better luck installing XAMPP
than following this step if you are on Windows or a Mac.
Let me apologize for the handwaving in this section.
I will try to make no assumptions as to your skill level. However, I also can't make any assumptions as to what platform you're using.
Rather than cover every platform, I'll just say that I used this tutorial
successfully on a Mac, and offer you some links that should work on other platforms:
Other Linux:If you're smart enough to be running anything else as your OS, you're smart enough to do this step on your own, cowboy.
Important: Make a note of all passwords and directories at this stage; you'll need them later!
Hints
Here are some notes that may help you complete the above tutorials:
On a Mac, the final location of your PHP binary ("libphp5.so") may differ, so it's very important that you tell Apache the
correct location. The installer will give you the exact line to type, so watch the output carefully. You can also use the following
terminal command to search your computer for this file:
sudo find / -type f -name 'libphp5.so' 2>/dev/null
On a Mac, the MySQL installer does not start the database automatically, and the command in the tutorial to update the MySQL password
will not work until you start the service. This command will start the database for you:
mysql.server start
Use this command on Mac/Linux to restart the Apache server if you have issues with the configuration:
sudo apachectl restart
Step 2
Install a Git client
The handwaving ends after this step, I promise.
I'm a software developer, so having a computer without a git client is almost as ludicrous to me as having one without a web browser.
That said, I understand you may not be so technically inclined. Unfortunately, git is probably the easiest way for you to get at
the RaspberryPints source code. Fortunately, the "git guys" have already helped me out with a good howto on this, and it covers
the same platforms as above:
Go follow the link above and come back here when you're done.
Step 3
Get ("git") the application
Now it's time to grab the source code. Assuming the above two steps are done, this is all you need to do:
Open a command prompt.
Change directories to the document root for Apache as installed in step 1 (for me, this was /Library/WebServer/Documents)
Type the following command12: sudo git clone https://github.com/RaspberryPints/RaspberryPints
That's it! You now have RaspberryPints on your computer. We still need to set it up before we can use it, however.
Step 4
Setting up RaspberryPints
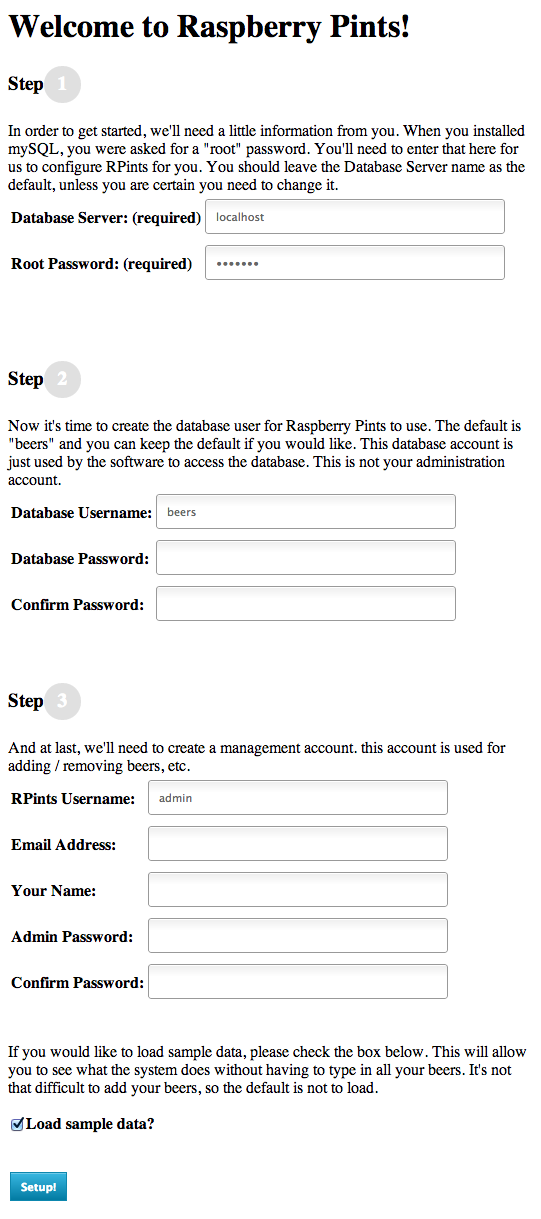
Assuming all has gone well up to this point, simply open a browser and point it at http://localhost/RaspberryPints/install. You should see the following page or something similar:
Step 1 lets RaspberryPints connect to MySQL and install your "beers" database. Use the root password you set up in Step 1 of this howto.
Step 2 installs the "beers" database. These can be anything and you probably won't ever use them directly.
Step 3 sets up your administrator account. This is the password you'll be using to modify your beer inventory behind the scenes.
Check "Load sample data" if you want to start with sample beers already loaded in the system. You can override these later.
Click "Setup!" You will see an info page telling you the installation was successful. Navigate to http://localhost/RaspberryPints to confirm.
Congratulations, you have installed RaspberryPints on non-RaspberryPi hardware. You little rebel you.
Now, for the part that this was all for, setting up a tablet to display RaspberryPints. First, you need to figure out the local IP
of the computer you installed RaspberryPints on. In a command terminal, type the following if you are on a Mac or Linux:ifconfig
and this if you are on Windows:ipconfig /all
You are looking for a line that says "inet" or "inet addr" (on Linux/Mac) or "IP Address" (Windows).
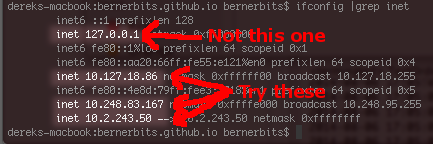
If you are running on Linux or a Mac and are having a hard time sorting through all the information this command belches out, the following command will help you sort through the uninteresting information:
ifconfig |grep inet
Sample output of the above command with possible IP addresses highlighted. This will look very different on Windows. Note that there are
multiple possibilities, so I had to try multiple addresses on my tablet to get it to work. Ignore 127.0.0.1 as it is never an external IP address.
When you have found the line that says "inet" or "IP Address", then look for a set of four 1-3 digit numbers separated by periods. This is your local IP address. Write this number down. If there are multiple
addresses, start with the first one and work your way down the list. (But ignore 127.0.0.1. This is never an externally valid IP; it is how
all computers refer to themselves.)
Next, open your preferred browser app on your tablet. In the address bar, type "http://<IP_ADDRESS>/RaspberryPints", replacing <IP_ADDRESS>
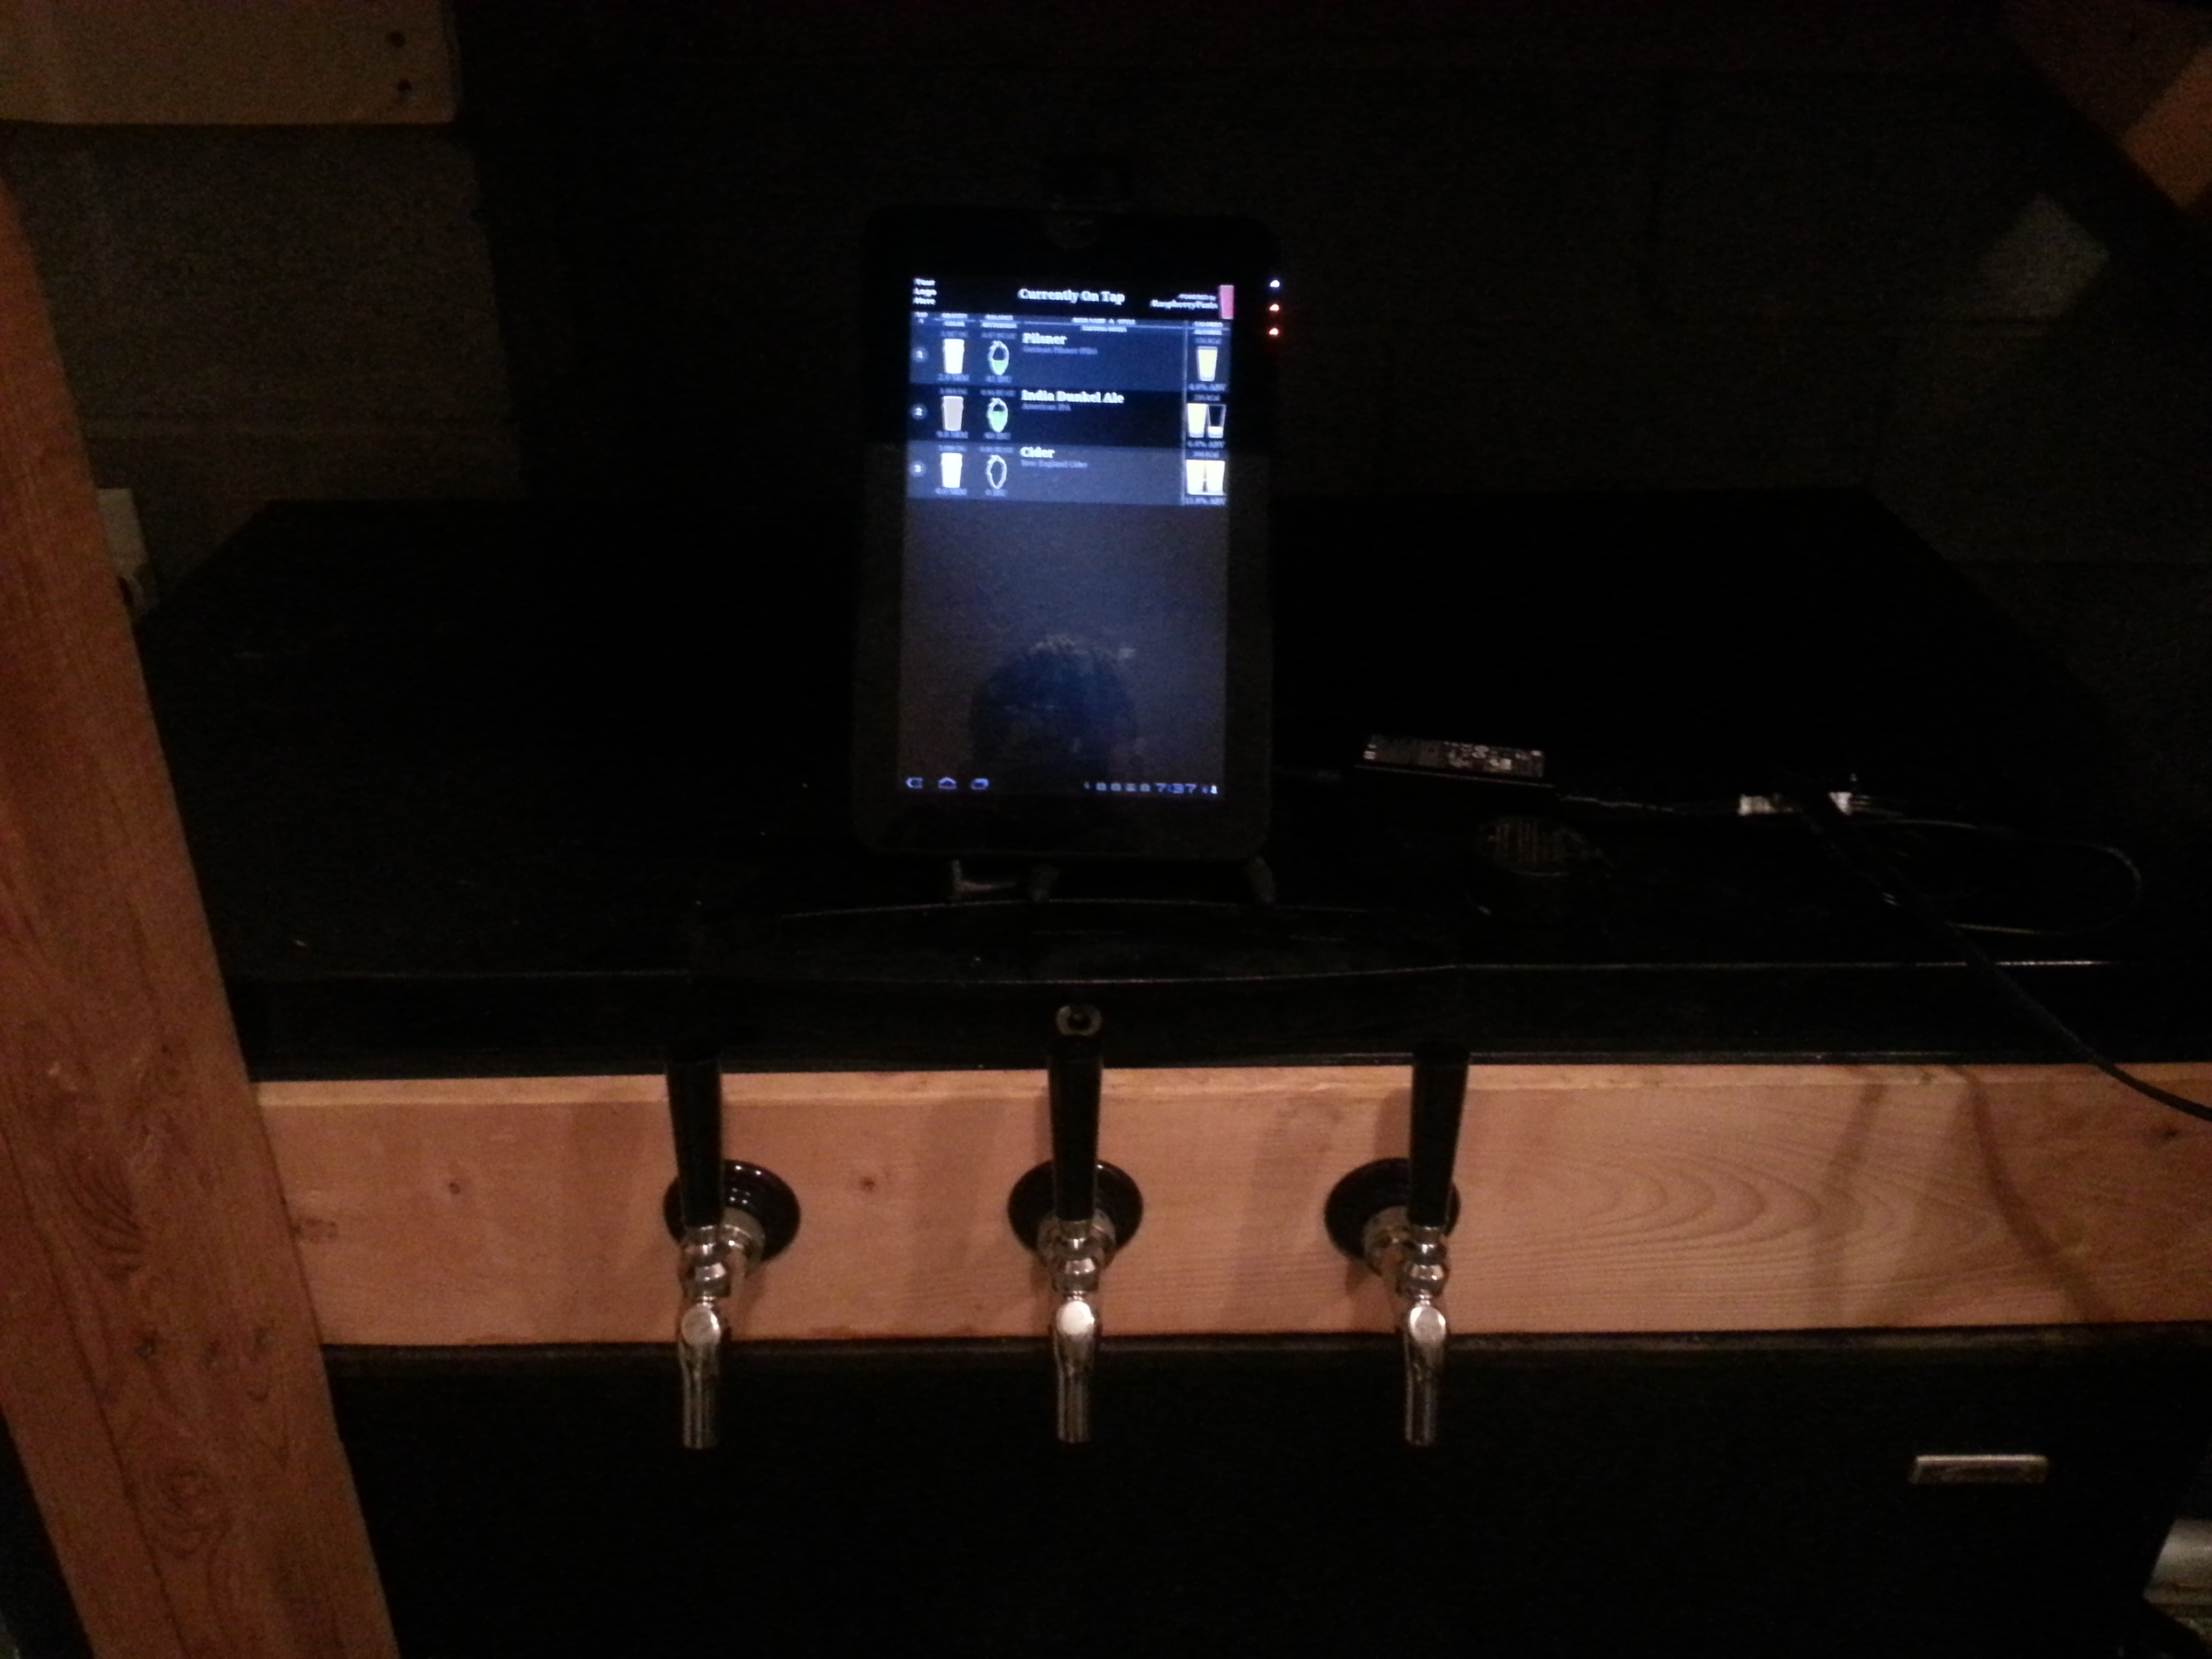
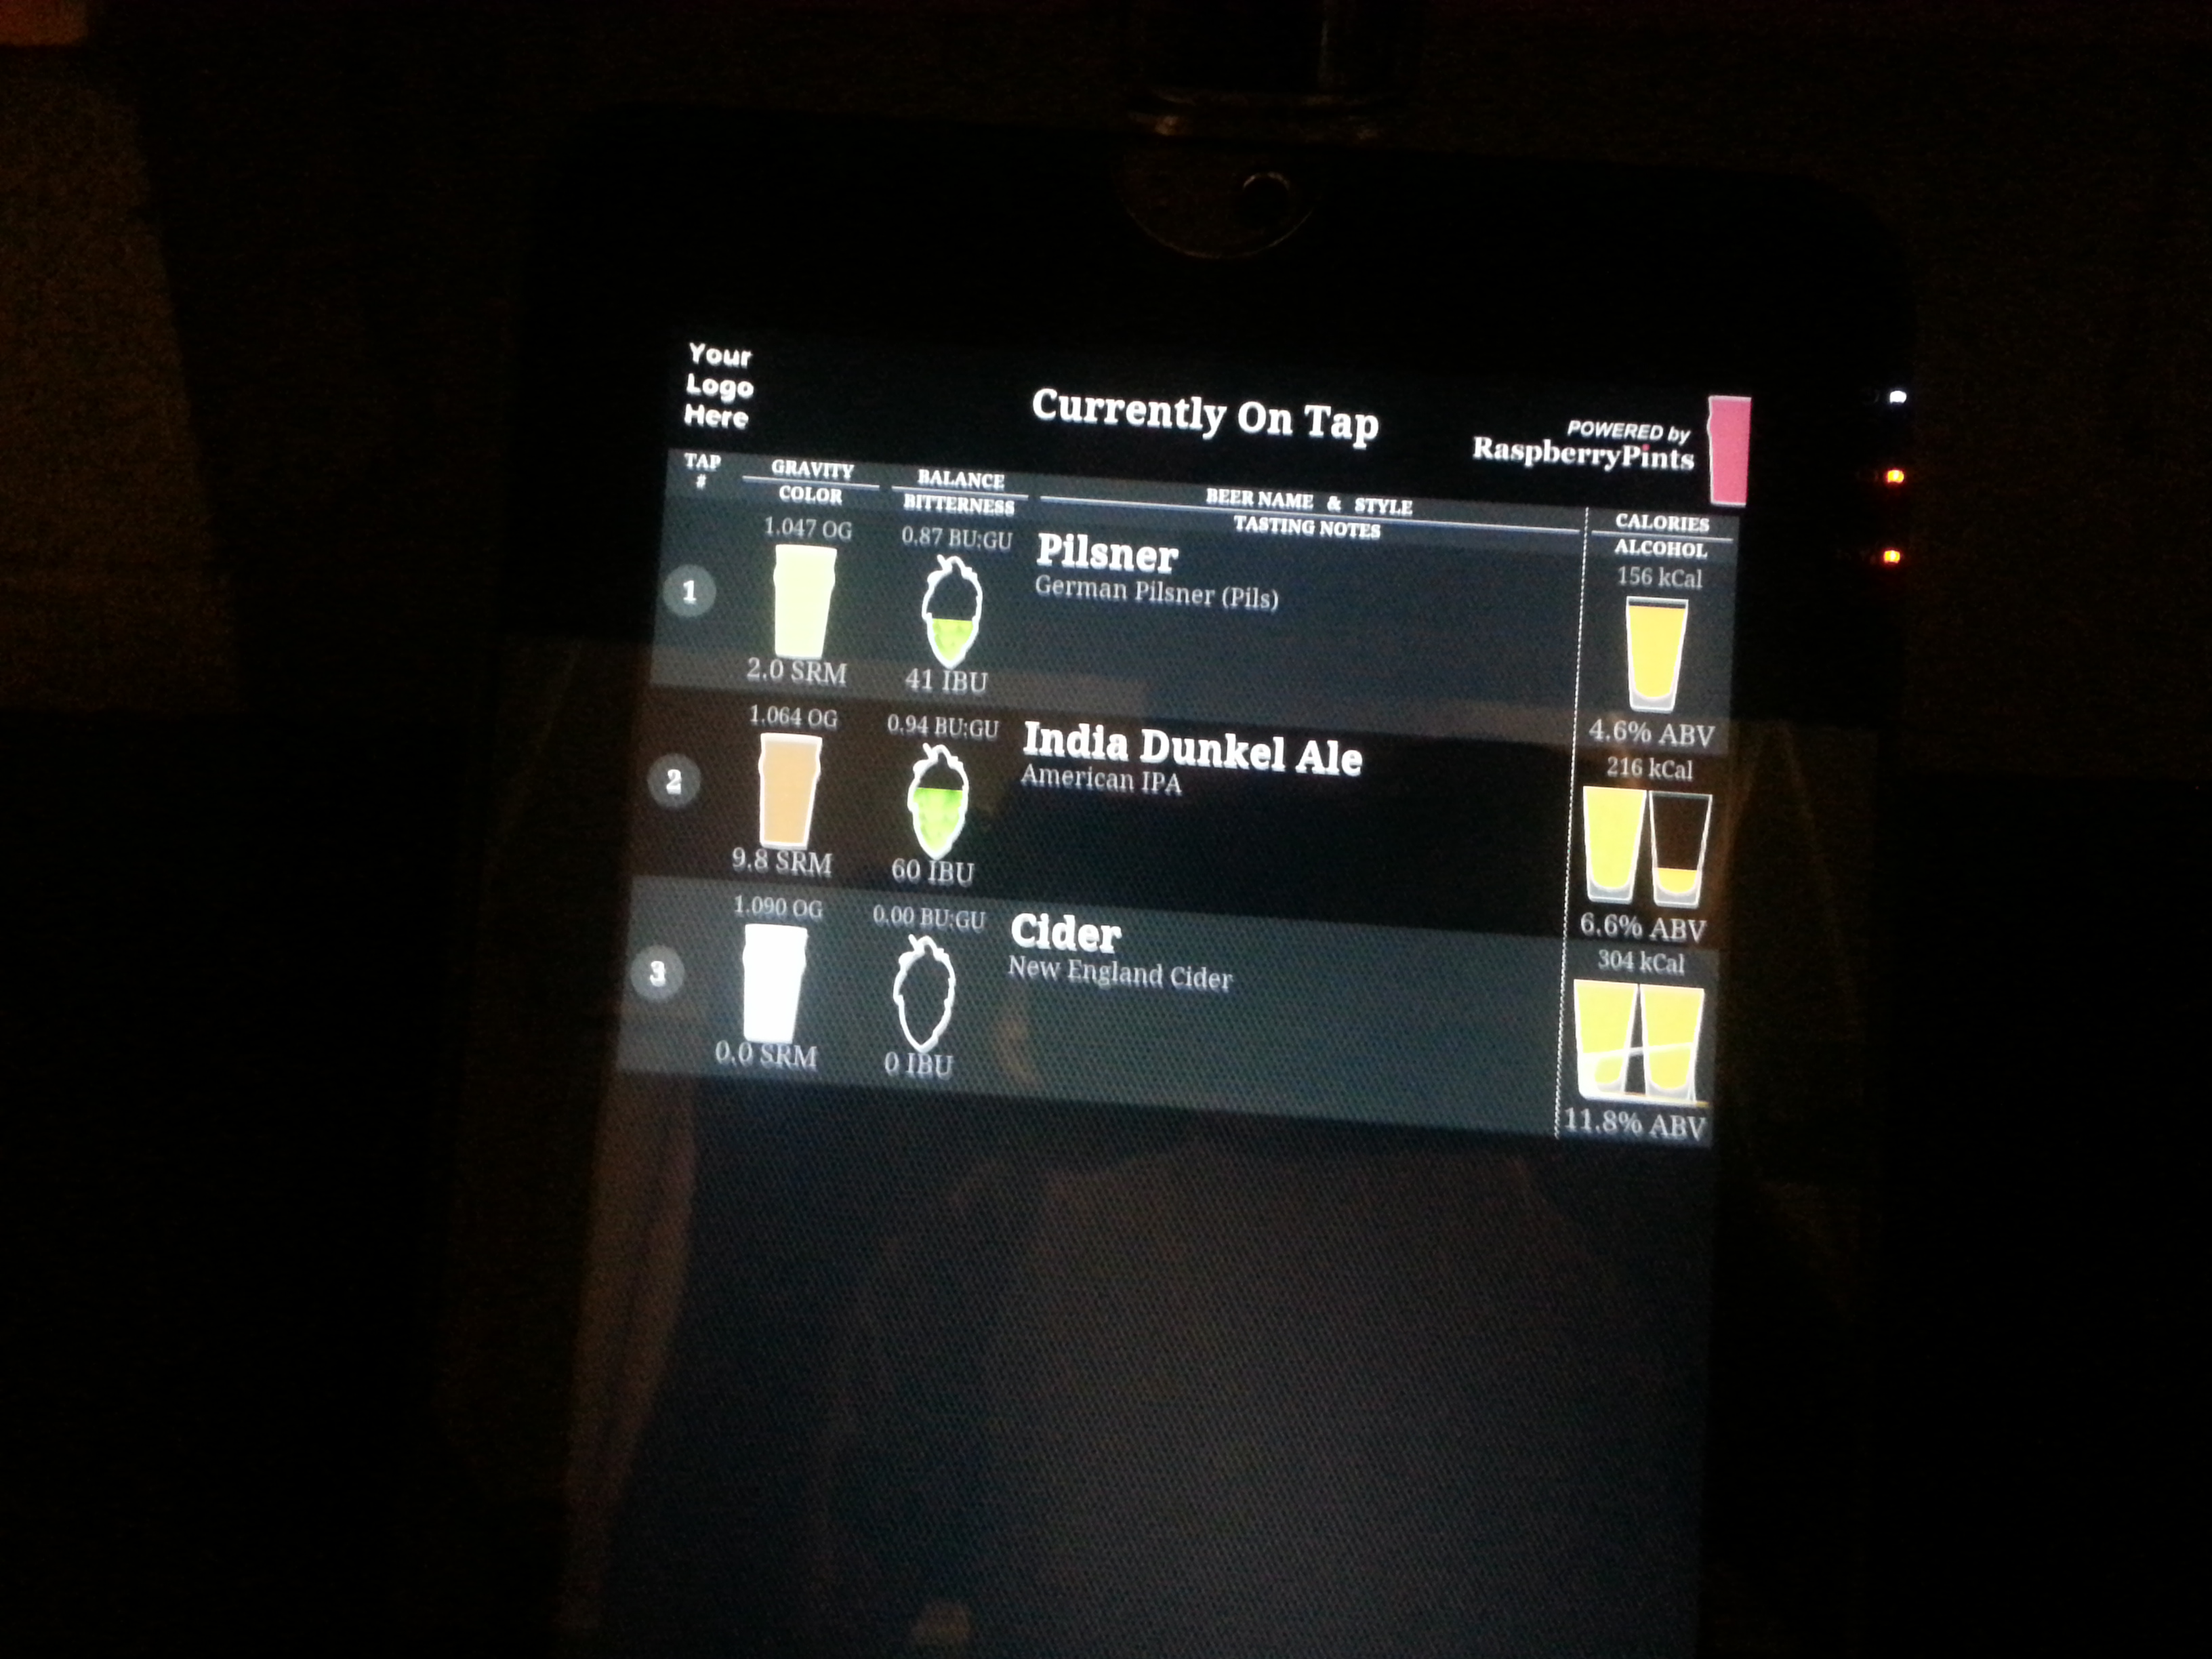
with the address you just wrote down. (Again, you may have to try a few to get this step right.) If all goes well, you should see the RaspberryPints application on your tablet:
In all its digital goodness... It will look better once I get it mounted!A better view - excuse the poor quality Galaxy S3 camera!
Congrats! You now have a snazzy digital taplist for display in your brewery, and you didn't have to spend a nickel on specialized hardware.
Remember that you can administer this page from http://localhost/RaspberryPints/admin on
your desktop, and it will update remotely.
Important Note: Depending on your wifi hardware, your IP address may change periodically. If you ever find that
you cannot view RaspberryPints on your tablet but you can view it via the "localhost" link above, repeat this step.
Additional Stuff
Now that you have RaspberryPints working on your tablet, you will probably want to do things like run the browser in fullscreen mode, keep the screen
from dimming and turning off automatically, set up static DHCP for your computer, etc. Unfortunately, since all tablets and wifi routers are
different, this is beyond the scope of this tutorial, but I thought I'd mention them anyway for completeness.
Just remember: Google is your friend. Good luck!
Notes
^Note that if you are running in Windows, you will not need "sudo" - this is there to override user privileges
on Linux/Unix and Mac systems. Instead, your command will be: git clone https://github.com/RaspberryPints/RaspberryPints
^On Linux/Unix and Mac systems, this will grant ownership to root. You may need to change ownership to the HTTP daemon user.
On Mac OS X this is _www and on Ubuntu it is usually apache. After downloading the source, use the following command for a Mac: sudo chown -R _www RaspberryPints/ and use this for Ubuntu: sudo chown -R apache RaspberryPints/
Shameless Panhandling
(aka donations)
If you liked this tutorial, buy me a beer! 25% of donations go to support RaspberryPints, and 50% go to support my son's college education fund.